How to Read Topographic Maps: Essential Guide for Beginners
Learn how to read topographic maps with our easy-to-follow guide. Discover key tips and techniques to navigate terrain confidently. Click to master it!
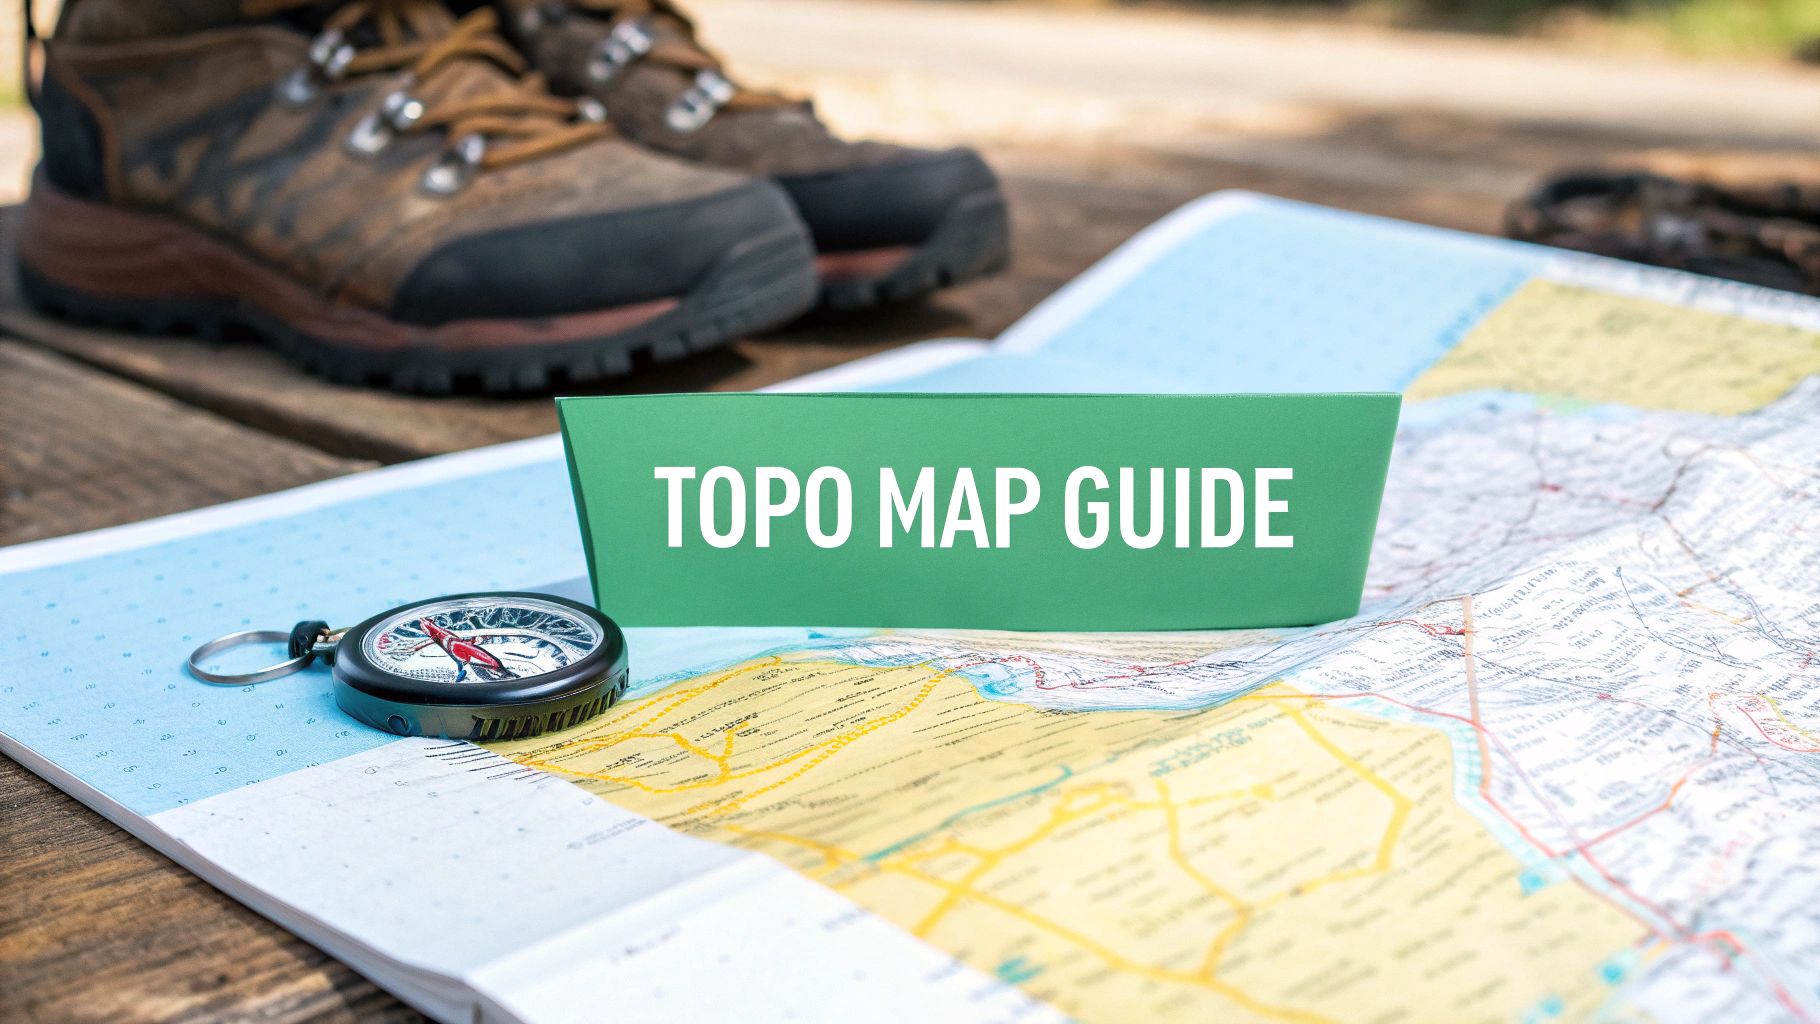
At first glance, a topographic map can look like a secret code. It's a complex mess of swirling lines, cryptic symbols, and numbers that don't seem to mean much. But hidden in that chaos is a detailed, three-dimensional story of the land, all neatly laid out on a flat piece of paper.
The real magic of a topo map is how it shows the shape and elevation of the terrain. A regular road map just tells you where to go. A topographic map shows you what you'll encounter—the steepness of a mountain trail, the gentle slope of a valley, or the exact peak of a summit. This is why they're essential tools for hikers, search and rescue teams, and yes, even geography gamers who need to truly understand the landscape.
The Five Pillars of a Topo Map
Every topographic map, no matter where it's from, is built on five fundamental components. Think of them as the building blocks for reading the map's language. Once you get these down, you can pick up any topo map and start making sense of it.
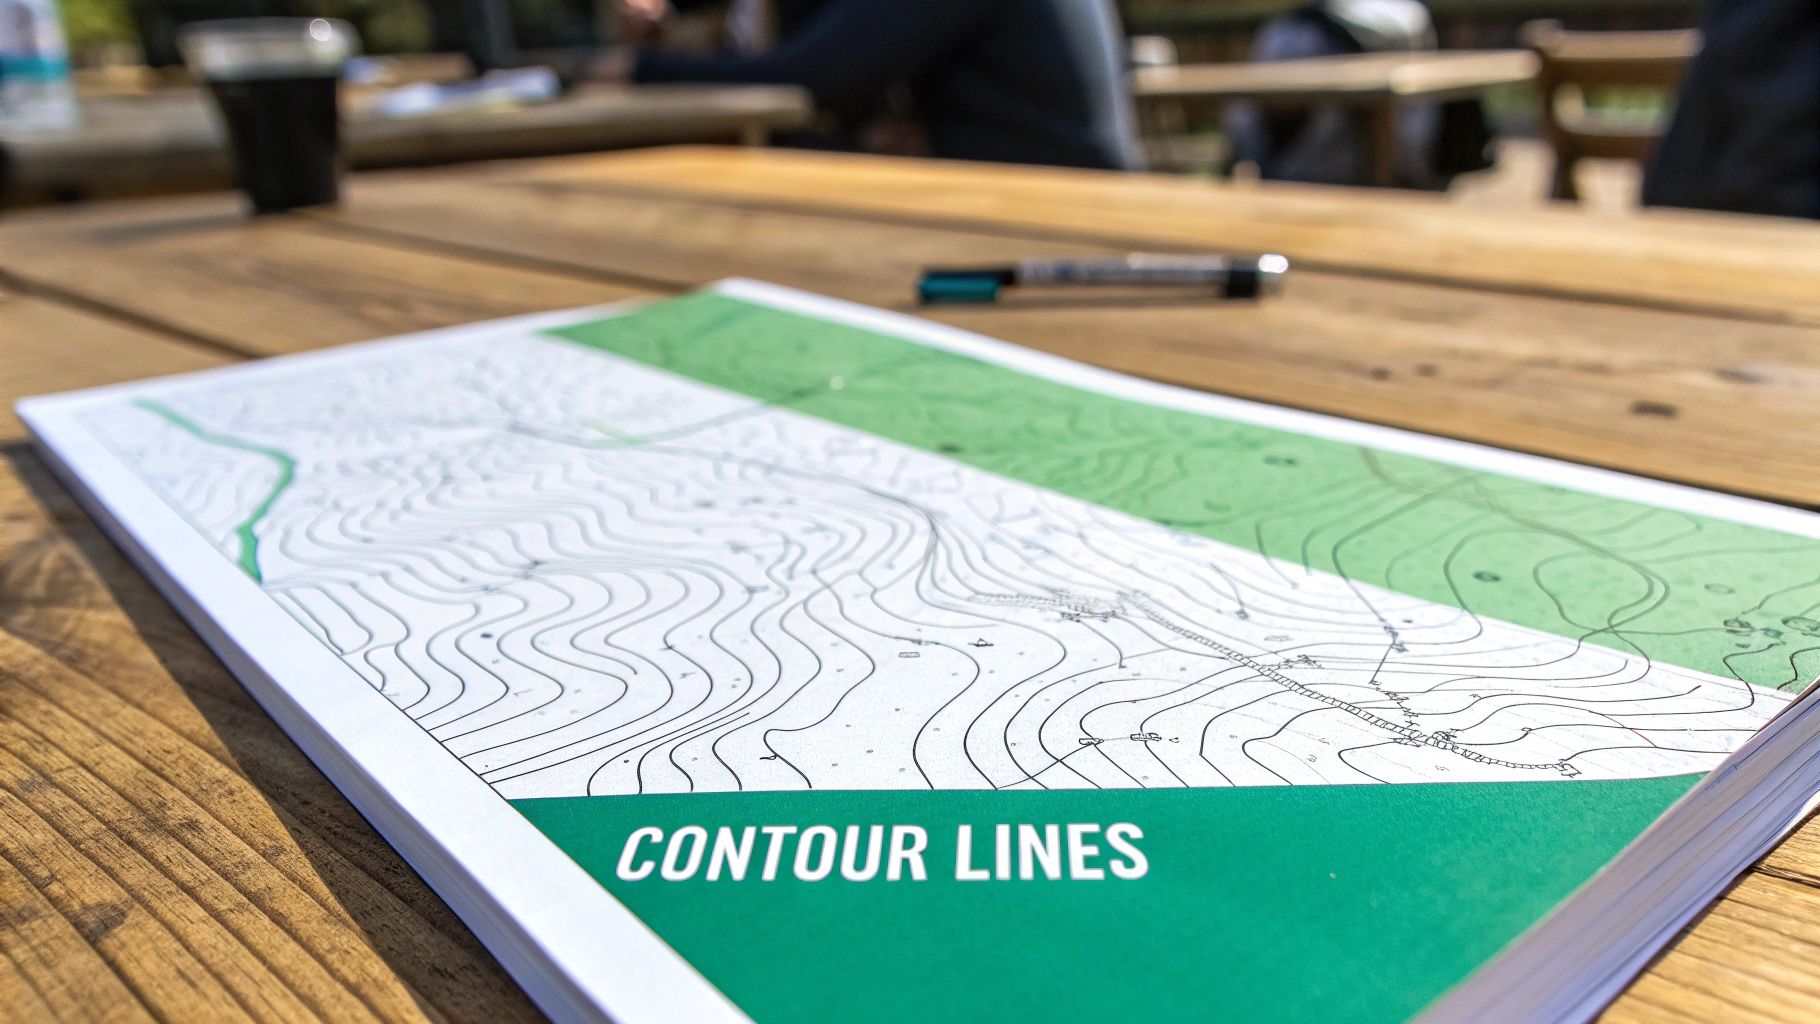
- Contour Lines: These are the spaghetti-like lines that seem to wander all over the map. They are the heart of a topo map, connecting points of equal elevation.
- Scale: This tells you how a distance on the map translates to the actual distance on the ground. It's the key to figuring out how far your next move is.
- Legend: This is the map’s dictionary. It explains what every symbol—from roads and rivers to buildings and vegetation—actually represents.
- Declination: A critical diagram that shows the difference between true north (the North Pole) and magnetic north (where your compass points). It's vital for accurate navigation.
- Marginal Information: The text printed in the map's margins. It contains crucial details like the map's name, when it was made, and the contour interval.
Topographic maps are more than just guides; they're historical snapshots. Each one captures the landscape at a specific moment in time, letting us see how places have changed over the years.
These maps have a rich and long history. In fact, a global archive shows that over 35,000 distinct topographic maps were published worldwide between 1608 and 2017 alone. They come in all sorts of scales, from incredibly detailed 1:10,000 maps used for local planning to broad 1:500,000 maps that give a regional overview. You can explore more on the global history of these cartographic works on Nature.com.
By breaking the map down into these five elements, we can tackle it piece by piece instead of getting overwhelmed. In the next few sections, we'll dive into each one, turning those confusing lines and symbols into a clear guide for your next adventure.
Mastering Contour Lines to Visualize Terrain
Contour lines are the real storytellers on a topographic map. At first glance, they might just look like a bunch of random squiggles, but these elegant, flowing lines reveal the most important thing about the landscape: its elevation. Every single line connects points of the exact same height above sea level, effectively letting you see the 3D shape of the land on a 2D map.
Here’s a simple way to picture it: Imagine a mountain standing in a lake. The shoreline traces a perfect contour line at that water level. Now, if the lake level dropped by 20 feet, the new shoreline would create a second contour line just below the first. A topographic map is basically a bird's-eye view of all these imaginary shorelines stacked up.
The All-Important Contour Interval
To start making sense of this story, you first need to find the contour interval. This is the non-negotiable number that tells you the vertical distance—the change in elevation—between any two adjacent contour lines. You’ll almost always find it printed somewhere in the map's margin or legend.
A common contour interval, especially on U.S. Geological Survey (USGS) maps, is 40 feet. This means every time your route on the map crosses a line, you’ve just gone up or down by 40 feet. The real magic happens when you see how far apart these lines are.
- Lines packed closely together: Brace yourself. This signals a very steep slope. You're gaining or losing a lot of elevation over a short distance, which means a tough climb or a tricky descent.
- Lines spread far apart: This is your green light for easy travel. It indicates a gentle, gradual slope or even totally flat ground where the elevation barely changes.
Think about it this way: a map of the Grand Canyon would have contour lines jammed together, while a map of the Florida Everglades would have them spread so far apart you might not see any for miles. The spacing tells you everything about the land’s personality.
The tech behind this has come a long way. Since 2000, NASA's Shuttle Radar Topography Mission (SRTM) has given us an incredibly detailed digital elevation model of almost the entire globe. This data now forms the backbone of countless modern maps and tools, from academic studies to the GPS app on your phone. You can dive deeper into how NASA uses this data over on their official data site.
Spotting Landforms in the Lines
Once the contour interval clicks, you can start seeing actual landforms take shape in the patterns. This is where map reading evolves from a technical skill into a true art form.
Hills and Mountains
A hill or mountain always appears as a series of concentric circles or ovals, one inside the other. The smallest, innermost circle is the peak. As you move inward from one ring to the next, you're always going up.
Valleys and Drainages
Valleys, gullies, and ravines show up as V-shaped or U-shaped contour lines. The trick is to see which way the "V" is pointing. The V always points uphill, toward the source of the water or the higher ground. The bottom tip of the "V" traces the stream bed or the lowest point in the drainage.
Ridges
Ridges are just the opposite of valleys. They also form V- or U-shapes, but here, the points of the "V" or the rounded part of the "U" point downhill. A ridgeline is a high spine of land you can often follow for miles, usually with great views.
This knowledge completely changes how you plan a route. You can instantly spot the path of least resistance up a mountain by following a gently sloped ridge, or find a valley that might offer shelter. If you need hyper-specific numbers while planning, a digital elevation finder tool can give you the precise elevation for any point you click on.
Interpreting Contour Line Patterns
To make it even easier, here's a quick reference table for identifying the most common landforms you'll encounter on a map.
| Contour Line Pattern | What It Represents | Navigation Tip |
|---|---|---|
| Concentric Circles | A hill, mountain, or peak | The smallest inner circle is the highest point. |
| V-Shapes | A valley or drainage | The "V" always points upstream or uphill. |
| U-Shapes | A ridge or spur | The rounded "U" points downhill. |
| Hourglass Shape | A saddle or pass | Represents the low point between two peaks. |
| Flat, Empty Space | A plateau or flat plain | No contour lines means no change in elevation. |
Once you master these patterns, you're not just looking at lines on paper anymore. You’re visualizing the terrain in 3D in your mind’s eye, anticipating the journey ahead, and making smarter decisions—whether you're deep in the wilderness or trying to win your next geography game.
Decoding Map Symbols and Measuring Distance
Beyond the elegant flow of contour lines, a topographic map is a dense tapestry of symbols and numbers, each telling a piece of the story. Learning to read this language is what turns a simple picture of the terrain into a powerful navigation tool. The key to unlocking it all? The map legend.
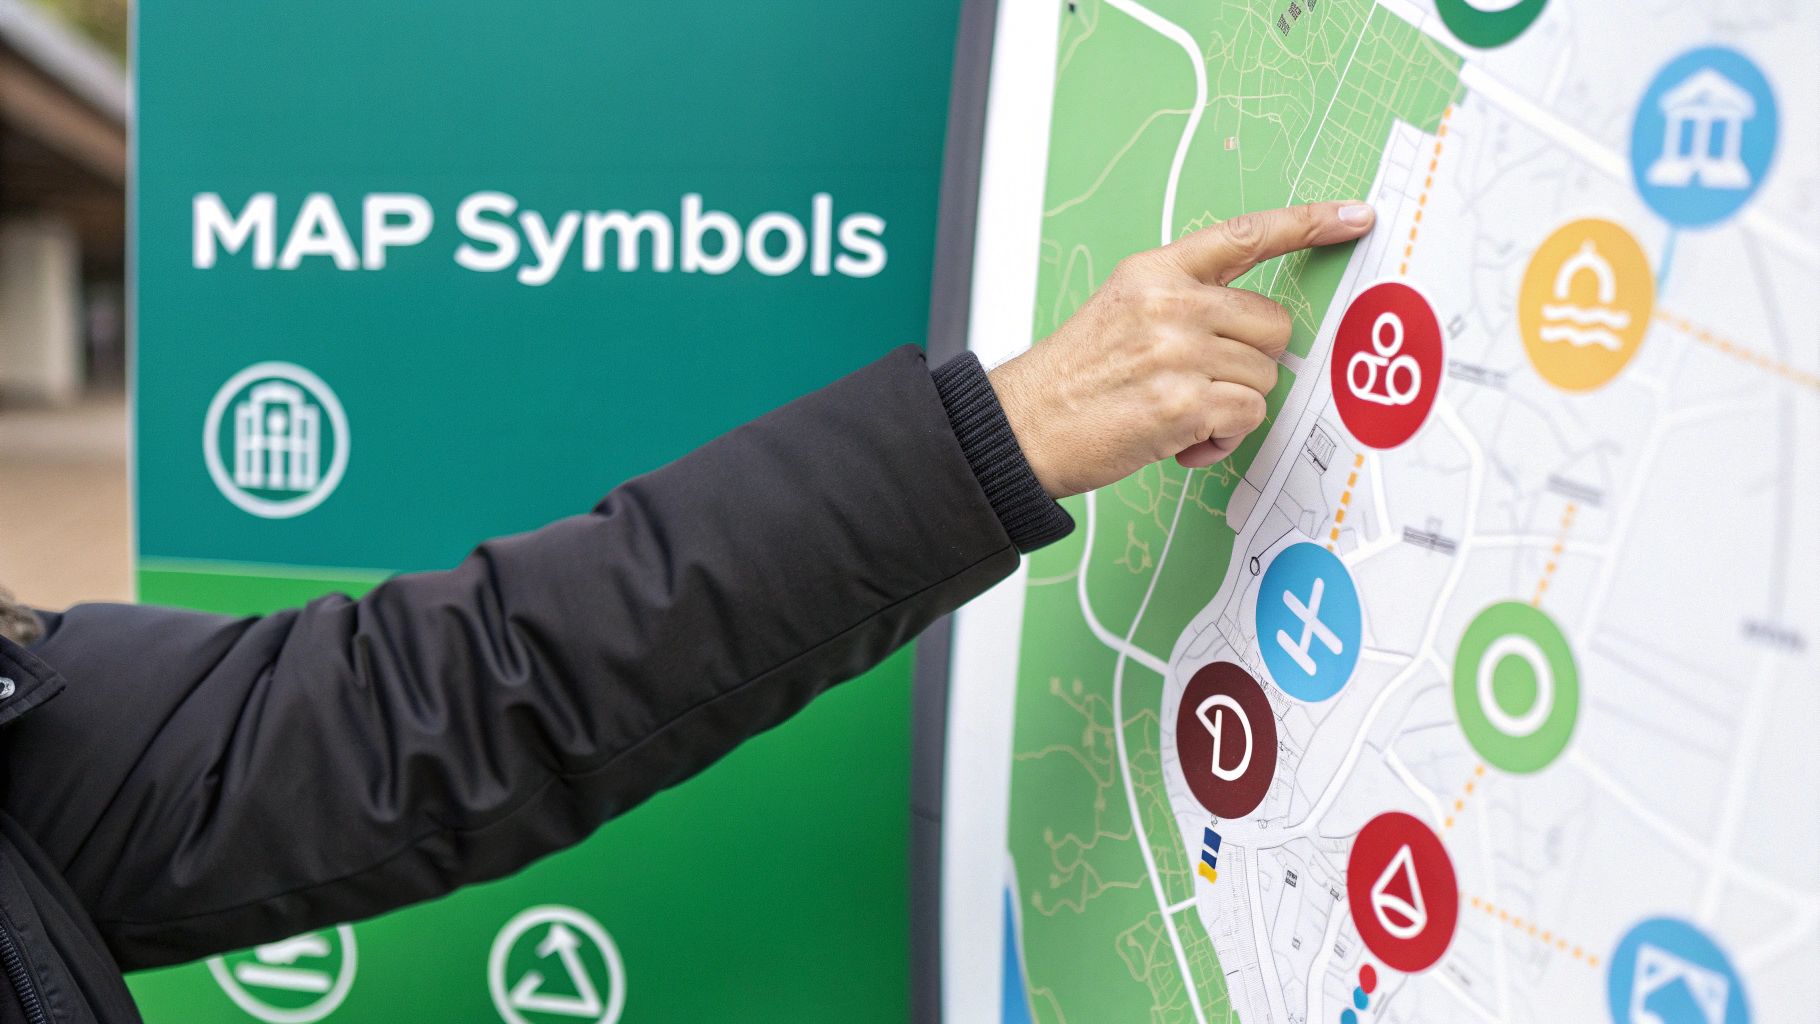
Think of the legend as your map's dictionary. Tucked away in the margin, it decodes every symbol you’ll encounter on your virtual journey. It’s here you’ll learn that a solid blue line is a perennial river, but a dashed one is an intermittent stream—a critical detail if you’re planning a route that depends on a water source.
The legend covers both natural features and man-made structures. Here's what to look for:
- Roads: A thick red line might be a major highway, while a thin, dashed black line could be a rough dirt track.
- Buildings: Small black squares often mark structures, from a lone cabin to a busy ranger station.
- Vegetation: Green shading usually means forest or woods, while white areas often represent open country like fields or meadows.
- Water Features: Swamps and marshes typically get their own blue shading, a clear warning to plan your route around them.
Getting a Grip on Map Scale
Once you've got the symbols down, the next piece of the puzzle is the map scale. The scale is simply the ratio between a distance on the map and the actual distance on the ground. It’s what helps you answer the most fundamental question in navigation: "How far is it, really?"
You'll typically see scale expressed as a ratio, like 1:24,000. This means that one inch on your map equals 24,000 inches on the ground.
It's a little counterintuitive, but a larger number in the ratio means less detail, not more.
- Large-Scale Maps (e.g., 1:24,000): These cover smaller areas but pack in tons of detail. They're your go-to for local hikes, detailed geographical analysis, or pinpointing a location in a game.
- Small-Scale Maps (e.g., 1:250,000): These give you the big picture, covering huge regions but with far less granular detail. Think regional planning or looking at an entire state.
High-resolution topographic data has become much more widespread. Today, about 30% of the globe is mapped at a detailed 1:25,000 scale, with around 75% coverage at the 1:50,000 scale. This is huge, as a 1:25,000 map provides drastically more information about the landscape than its smaller-scale counterparts. For those interested in the nitty-gritty, you can find reports on the status of topographic mapping worldwide.
From Map to Ground: Measuring Distance
The scale ratio is the theory, but the bar scale printed in the map's margin is where the magic happens. It's a graphical ruler already calibrated for your map, letting you quickly measure distance in miles, feet, or kilometers without any math.
For a straight shot between two points, just use a ruler or the edge of a paper to mark the distance, then line it up against the bar scale to get your real-world number. Easy.
A classic rookie mistake is only measuring straight-line, "as the crow flies" distances. Real-world routes almost never work that way. For a winding trail, grab a piece of string or even dental floss. Carefully lay it along the path on the map, then straighten it out and measure it against the bar scale for a far more accurate estimate.
Mastering this skill is the key to estimating how long a journey will take. If you know your pace on flat terrain, you can make a good guess. But don't forget to account for those contour lines—climbing up steep terrain will slow you down considerably.
If you need to get precise with your planning, our guide on using a distance and bearing calculator will help you nail down the numbers for any route. It's this combination of reading symbols and accurately measuring distance that truly lets you navigate with confidence.
Bringing Your Navigation Skills to Life
Knowing how to read the individual bits and pieces of a topographic map is a great start. But the real magic happens when you put it all together to navigate in the wild. This is where theory meets the trail, turning all those abstract lines and symbols into confident, real-world decisions. It all kicks off with one simple, but absolutely critical, first step: orienting your map.
An oriented map is simply one that's aligned with the actual landscape around you. For this, you'll need a compass. Lay your map on a flat surface and place your compass on top. Line up the edge of the compass baseplate so it's parallel with the map's north-south grid lines. Now, just rotate the map and compass together until the compass needle lines up perfectly with the "N" on the compass dial. Boom. Your map is now oriented.
Accounting for Declination
Hold on, there’s one small but crucial detail to sort out first. Your compass needle points to magnetic north, but the grid lines on your map point to grid north (which is very close to true north). The angle between these two is called declination, and it changes depending on where you are in the world.
Check your map's margin—you'll find a declination diagram showing this angle. If it says 10 degrees east, that means magnetic north is 10 degrees to the east of grid north. To navigate with any real accuracy, you have to account for this. Most modern compasses have an adjustable declination setting that makes this easy. Set it once for your area, and your compass will do the rest, letting you use it with the map seamlessly.
Neglecting declination is probably the most common navigation mistake people make. Being off by a single degree will put you about 100 feet off course over just one mile. Imagine being off by 10 degrees on a long hike—that could easily land you in a completely different valley.
Taking a Bearing and Following It
With your map properly oriented, you can now translate a destination on paper into a real-world direction. Let's say you want to get from where you are to a remote lake you can see on the map.
- Place your compass on the map. The long edge of its baseplate should form a straight line connecting your current spot to the lake.
- Rotate the compass dial (the bezel) until the orienting lines inside it are parallel with the map's north-south grid lines. Make sure the orienting arrow points north.
- Read the bearing at the index line on your compass. Let's say it's 45 degrees. That's your direction of travel.
- Hold the compass level in front of you. Now, turn your whole body until the magnetic needle is "in the shed"— perfectly aligned with the orienting arrow inside the dial. The direction-of-travel arrow on your baseplate is now pointing exactly toward that lake.
From here, you can just follow that bearing. Pick out a distant landmark (like a funny-looking tree or a distinct rock) along that line, walk to it, and then repeat the process.
The infographic below shows a simple three-step process for turning a measurement on your map into a real-world distance, a core skill for planning any trip.
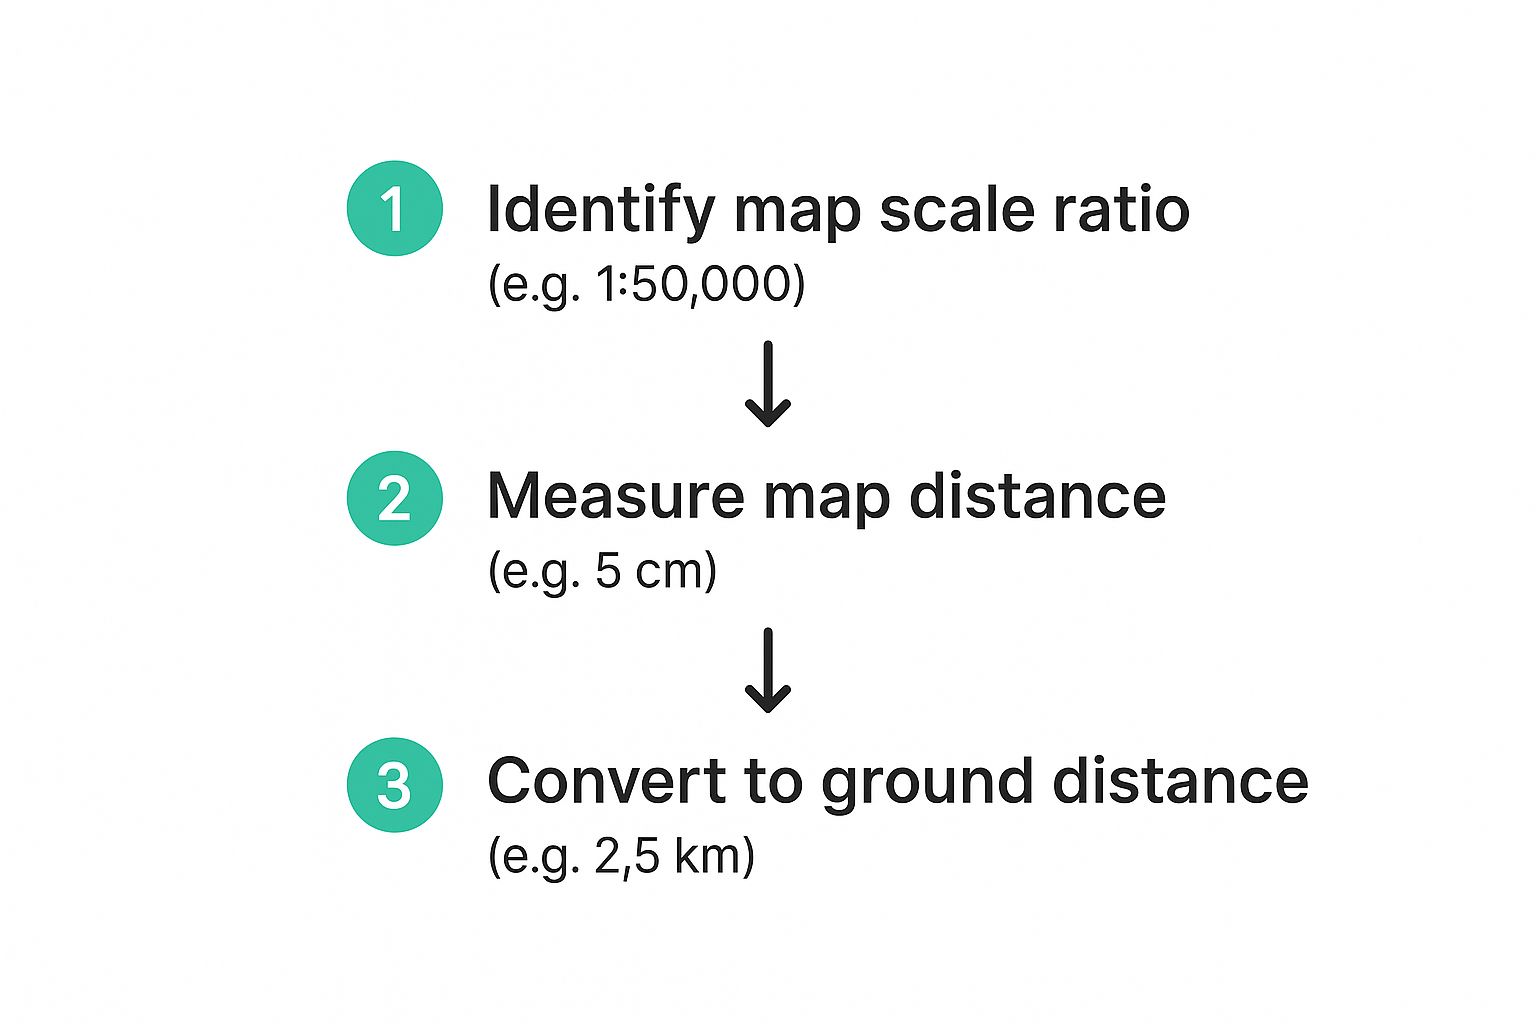
This visual really clarifies how a map's scale, like 1:50,000, directly translates a measured map distance into a tangible ground distance. It's the key to making good estimates about your travel time and effort.
Pinpointing Your Location with Triangulation
But what if you're not totally sure where you are? As long as you can identify at least two known landmarks—both in front of you and on your map, like a mountain peak and a radio tower—you can use triangulation to find your position.
First, take a bearing to the mountain peak. Let's say it's 270 degrees. You'll need to convert this to a back bearing by adjusting for declination (add for east, subtract for west). Place your compass on the map at the mountain peak's symbol and draw a line along this back bearing. You are somewhere on that line.
Next, do the exact same thing for the radio tower. Take a bearing, convert it to a back bearing, and draw a second line from the tower's symbol on your map. The point where those two lines cross is your approximate location.
For even better accuracy, use a third landmark. This will create a small triangle on your map, and you can be pretty confident your position is somewhere inside it. It’s a powerful technique for getting your bearings when you feel a bit lost.
Applying Topo Skills in Digital Worlds
The skills you learn reading a paper map translate surprisingly well to the virtual worlds of geography and survival games. It's an unexpected edge. Many game developers lean on real-world topographic principles to build their landscapes, which means your ability to read contour lines and spot landforms gives you a serious tactical advantage.
This is about more than just finding your way from A to B. It’s about reading the digital terrain like an open book. Instead of just bee-lining for an objective marker, you start thinking like a real-world navigator. A quick glance at the in-game map can tell you where an enemy might be hiding in a narrow valley or which hilltop offers the best strategic high ground. It’s the difference between reacting to the game and actively controlling it.
From Paper to Pixels
Even though you’re looking at a screen, the core concepts haven't changed a bit. Those contour lines in a game map work just like their paper cousins, showing you the shape and elevation of the land.
- Spotting High Ground: Look for those familiar concentric circles. The smallest, innermost ring is still a peak or hilltop—the perfect spot for a sniper's nest or just a safe place to get your bearings.
- Identifying Choke Points: Those V-shaped contours pointing uphill still scream "valley" or "ravine." These are natural funnels for movement, making them prime spots for an ambush or a solid defensive line.
- Finding Safe Passage: Need to get across the map fast without getting bogged down? Look for contour lines that are spread far apart. That’s your flat or gently sloping ground, promising faster movement and fewer nasty surprises.
The real advantage here is speed. In a tense survival game, being able to interpret the map in seconds to find a defensible ridge or a hidden gully can be the difference between winning and starting over.
Strategic Terrain Association in Gaming
Once you’ve got the basics down, you can start layering these reads to make some pretty sophisticated tactical calls. Let’s say you see a river (usually a solid blue line) cutting through a bunch of tightly packed, V-shaped contours. You instantly know that’s a deep, steep-walled canyon. Trying to cross there is going to be slow, difficult, and leave you completely exposed.
On the other hand, finding a spot where those same contour lines spread out near the river suggests a floodplain or a shallow ford. That’s a much smarter, safer place to cross. You’re not just looking at a map anymore; you’re reading the story of the terrain and predicting exactly how it will impact your game.
This skill gets even better when you start creating your own challenges. For a truly immersive practice session, you can use a custom map creator to generate unique scenarios on real-world topography. It lets you hone your skills in a controlled environment before you take them into a competitive match.
Ultimately, this approach turns your in-game map from a simple navigation aid into your most valuable intel tool. It lets you see challenges before they happen, use the landscape to your advantage, and move through the virtual world with the confidence of an expert cartographer.
Common Questions About Reading Topo Maps
Once you get the hang of the basics, a few tricky questions always seem to pop up. These are the classic sticking points that can trip you up, whether you're deep in a geography game or trying to find your way on an actual trail. Let's tackle them head-on.
What Is the Difference Between True North, Grid North, and Magnetic North?
This one is a big deal, and probably the most critical concept for getting your bearings right with a compass. It's often misunderstood, but it's pretty simple once you break it down. Think of it as three slightly different "norths" that you need to account for.
True North: This is the real deal—the geographic North Pole. It's a fixed point on the globe where all the lines of longitude meet. It never moves.
Grid North: Look at the vertical lines running up and down your topographic map. The direction they point is Grid North. For most of us, it’s close enough to True North for practical purposes.
Magnetic North: This is where your compass needle actually points. It’s not pointing to the geographic North Pole, but to a massive, ever-shifting blob of molten iron deep inside the Earth, hundreds of miles away.
The key takeaway? The angle between these three "norths"—known as declination—changes depending on where you are on the planet. Ignoring it can throw you miles off course. That little declination diagram in your map’s margin isn't just for decoration; it’s essential for accurate navigation.
How Do I Find the Contour Interval on My Map?
The contour interval is your secret weapon for understanding the terrain. It tells you the vertical distance—the elevation change—between any two contour lines. Figuring it out is usually pretty simple.
Most good maps, like the ones from the U.S. Geological Survey (USGS), spell it out for you right in the margin. You’ll see something clear like "CONTOUR INTERVAL 20 FEET". That means every time you cross one of those lines on your map, you've moved up or down 20 feet.
But what if the margin is torn, or the info just isn't there? No problem. You can figure it out yourself.
- Find two index contours. These are the thicker, darker lines that have a specific elevation printed on them (like "5200" and "5300").
- Count the number of regular, lighter lines between them. Let's imagine there are four.
- Do the math: Subtract the lower elevation from the higher one. 5300 - 5200 = 100 feet.
- Now, divide that difference by the number of "gaps" between the lines. If there are four lines in between, that means there are five total intervals (including the one up to the next index line). So, 100 feet / 5 intervals = 20 feet.
Boom. Your contour interval is 20 feet. It's a quick calculation that can be a real lifesaver.
Can I Rely Solely on a GPS Instead of a Topographic Map?
In a world full of amazing GPS devices and smartphone apps, it's easy to think a paper map is a relic of the past. And while a GPS is an incredible tool, going all-in on tech is a rookie mistake.
Technology fails. It's a fact of life. Batteries die, screens shatter, and a thick forest canopy or a deep canyon can completely block the satellite signal, turning your fancy gadget into a paperweight.
A physical map and a good old-fashioned compass? They have no batteries. They don't need a signal. They just work.
The smartest navigators learn to use both systems together. Use your GPS for a quick, pinpoint check of your location. But pull out the topo map to see the big picture—the entire valley, the approaching ridgeline, the escape routes. The map gives you situational awareness that a tiny screen never will. It’s not about choosing one over the other; it’s about combining the speed of technology with the foolproof reliability of a map.
Ready to put your map-reading skills to the test in a world of adventure? Join EarthChasers and explore stunning, topographically accurate landscapes from the comfort of your home. Turn your knowledge into a thrilling journey and see the world in a whole new way. Start your adventure today at https://earthchasers.com.