How To Measure Distance On Map Using Paper Digital And Terrain Methods
Learn how to measure distance on map using paper scales, digital tools, and elevation adjustments with clear steps, real scenarios, and accuracy tips.
Measuring distances on a map doesn’t need to be a guessing game. Whether you’re tracing routes on a folded topo, plotting points in Google Maps, or adjusting for every uphill climb with specialized tools, you can achieve ±1% to ±10% accuracy without breaking a sweat.
Quick Distance Measurement Methods
Here’s a snapshot of three popular approaches, what you need for each, and when they really shine.
- Paper Maps: A trusty ruler or dividers paired with the map’s scale converts inches (or centimeters) into real-world miles or kilometers.
- 2D Digital Maps: Google Maps’ interactive “Measure distance” tool snaps points in place and switches units on the fly.
- Terrain-Aware Tools: The EarthChasers Elevation Finder and Line of Sight calculator factor every climb and dip for slope-corrected totals.
Below is a quick look at how these methods stack up:
Comparison Of Distance Measurement Methods
Here’s an at-a-glance comparison to help you pick the right approach before diving into the details.
| Method | Tools | Accuracy | Use Case |
|---|---|---|---|
| Paper Map | Ruler, Divider | ±5% | Hiking route |
| Digital Map | Google Measure | ±1% | City planning |
| Terrain Aware | Elevation Finder, Line of Sight calculator | ±10% | Mountain trails |
Use this table to match your project’s demands. Accuracy will shift based on map quality, calibration, and terrain complexity.
“Paper scaling works anywhere you go offline. Digital tools speed up urban planning. Terrain-aware methods are unbeatable once you hit the hills.”
Choosing The Best Tool
If you’re mapping a weekend backpacking loop in the woods, stick with paper and a divider—no signal, no problem. For a quick city block estimate, a 2D digital measure tool gets the job done in seconds. And when every foot of elevation matters (think ridge routes or ski mountaineering), terrain-aware software is your best friend.
Each approach handles both miles and kilometers, and most let you export results to share with teammates or drop into your trip report. Pick the one that suits your workflow and terrain—and you’ll hit your true distance every time.
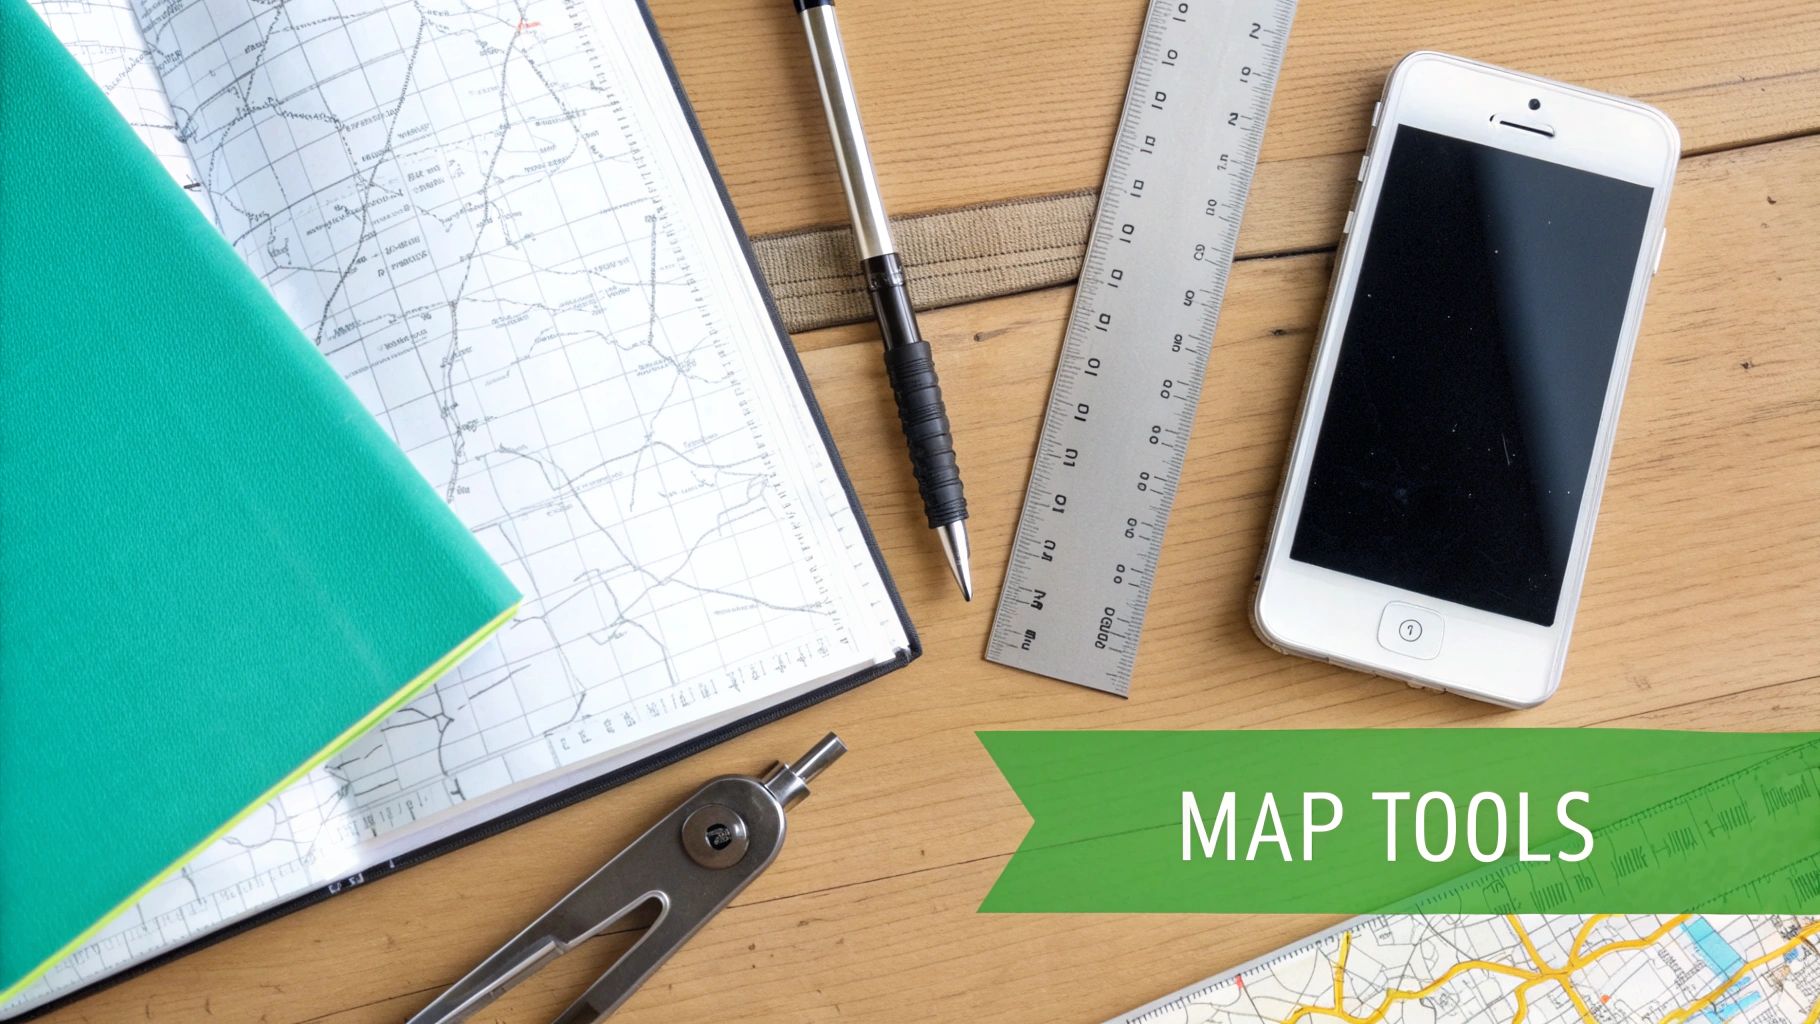
Tools And Materials Needed
Before you can measure any map accurately, you need the right tools at your fingertips. Paper or digital, a simple kit makes the difference between guesswork and precision.
On physical maps, three items are non-negotiable. A transparent metric ruler laid directly over the grid ensures every line sits true. A pair of two-legged dividers handles curves and switchbacks with ease. Finally, the representative fraction (scale ratio) in the margin converts map centimeters into real-world kilometers.
- Transparent Metric Ruler: matches the printed grid for error-free readings
- Two-Legged Dividers: trace irregular routes without lifting your pencil
- Representative Fraction: turns cm on paper into km on the ground
Map Projections And Compatibility
Digital platforms aren’t one-size-fits-all. Google Maps uses a Web Mercator projection, OpenStreetMap editors like JOSM rely on slightly different math, and simple browser rulers sit on top without any geodetic adjustments.
That screenshot highlights Google Maps’s interactive path snapping, which clicks your route onto streets and trails dynamically. In JOSM, the built-in ruler and coordinate grid keep edits pixel-perfect. Need a quick hack for any webpage? Browser-based rulers let you hover, mark, and measure in seconds.
- Google Maps Measure: drop points, snap to roads, toggle units
- OpenStreetMap (JOSM): geographic ruler with custom granularity
- Browser Rulers: overlay guides for instant webpage annotations
Terrain Methods And Tools
A flat map never tells the whole story. When hills or valleys enter the picture, elevation-aware methods become essential. The EarthChasers Elevation Finder plots slope-corrected distances, and line-of-sight calculators reveal peaks hiding beyond ridges.
- Elevation Finder (Free Tier): generate basic altitude profiles
- Line of Sight (Premium Plans): model obstructions with high resolution
- Projection Options: choose between Lambert, Mercator, UTM, and more
The leap from straight-line measures to fully geodetic surveys began with Delambre and Méchain’s 1792–1798 meridian expedition. It’s a milestone in the History of the Metric System that still underpins our unit conversions today.
Consistent calibration across tools keeps your measurements within ±5% of actual field distances.
Calibration Best Practices:
- Zero your ruler or scale at the map’s defined origin
- Validate each measurement on multiple devices or overlays
- Keep software and projection data updated for the tightest fit
With this gear and a handful of best practices, every path you trace becomes a reliable route for planning, teaching, or gaming.
Always archive your paper map scale alongside digital calibration files so nothing slips through the cracks.
Measuring Distance On Paper Maps
Ever find yourself off the grid with a dying GPS and nothing but paper? A 1:50 000 topographic sheet strikes the perfect balance—enough detail for hiking without clutter.
Lay a transparent ruler between two points for straight-line checks. If the trail snakes around a ridge, switch to dividers: open them from point A to B and step along every twist.
Keep that map flat—folded edges and creases will skew any measurement. Always lean on the representative fraction. On a 1:50 000 map, every 1 cm equals 500 m on the ground. Learn more about the history of cartography (https://en.wikipedia.org/wiki/History_of_cartography).
For handy scale conversions, see How to Calculate Map Scale.
A tiny shift at the edge of the ruler can result in hundreds of meters added or subtracted.
Aligning Your Tools
- Spread dividers between your trail’s start and first bend, then click them shut.
- Walk those dividers along each curve, keeping tension tight to record every contour.
- Compare the final opening to the map’s scale bar.
- Translate that span into real-world distance—usually in kilometers.
This hands-on trick beats eyeballing winding paths any day.

The image above shows contour lines and grid ticks up close. First, dot your start and finish. Then, roll out your ruler or dividers against that trusty scale bar.
Dealing With Projection Distortion
Maps bend reality, especially near the edges. If your route brushes the border, split it into central and marginal segments.
Use dividers on each part separately, then average those two readings. That extra step counters the warping caused by the projection.
Example Calculation
Imagine your trail measures 12.4 cm on a 1:50 000 map:
- Multiply 12.4 cm by 500 m
- You get 6200 m total
- That’s 6.2 km in the field
Toss a compact ruler and a phone calculator into your pack for quick math on the move.
Common Mistakes To Avoid
- Ruler sliding on glossy paper — anchor the map with a clip or lay it on a grippy mat.
- Overlooking grid declination notes — rotate your map to true north before measuring.
- Dividers that work loose — tighten the hinge screw so each step stays locked.
- Mixing units — keep km and miles straight by verifying your conversion.
Aim for ±5% accuracy by double-checking each measurement. Even in backyard orienteering or tabletop RPGs, these tips keep you on track.
Measuring Distance On Digital Maps
With a few clicks, you can trace a hiking trail, plan a bike loop or map out a service route—no paper or scaling needed. Modern digital maps handle all the math, so you get accurate distances in seconds. Let’s dive into the tools, tricks and pitfalls you’ll want to know.
Activate The Measure Tool
Getting started is easy. In Google Maps, right-click anywhere and select Measure distance. In editors like JOSM on OpenStreetMap, click the ruler icon and drop two or more points on the canvas.
Here’s how they compare:
| Tool | Accuracy | Notes |
|---|---|---|
| Google Maps Measure | ±1% | Snaps neatly to roads and walking paths |
| OSM Ruler (JOSM) | High precision | Enter raw coordinates (meters) for editing |
| Browser-Based Rulers | Varies by zoom | Calibrate pixels to meters at each zoom level |
Plot Routes And Fine Tune Waypoints
Click once to place your first marker. Keep adding points to follow twists in sidewalks, trails or service roads.
That view shows how Google Maps highlights each segment and the total distance. If a waypoint drifts off your intended line, just drag the blue dot back into place.
Deal With Projection Distortion
Most web maps use Web Mercator, which stretches distances closer to the poles. At very high latitudes, a 100 m path on screen can be off by 2%.
To keep your figures honest:
- Avoid measuring above 60° latitude unless you accept small errors.
- Switch to UTM or Lambert projections in OpenStreetMap editors with custom CRS settings.
Switch Units And Save Exports
By default, Google Maps shows miles. Click the unit label (or type “km” into the search bar) to flip instantly to kilometers.
Once you’ve got a number you like:
- Copy it to your clipboard for route logs or spreadsheets.
- Export the path as KML or GeoJSON to pull into GIS or mapping tools.
- Share a custom link so teammates can load your exact waypoints.
For quick visuals, grab your OS’s screenshot tool and paste PNGs into reports.
Learn more about advanced geodesic conversions in our Distance and Bearing Tools guide.
Digital measure tools can save hours of manual scaling and reduce errors to ±1% on typical city routes.
Use Cases And Tips
Measuring online speeds up everything from urban delivery planning to broadcast coverage maps. In the classroom, teachers can run live demos with 100+ students checking distances in real time. Gamers lining up scavenger hunts in virtual worlds love exporting KML routes for multi-day challenges.
Quick Tricks:
- Drag endpoints on the fly when a street closes or a trail reroutes.
- Rename saved routes right in the menu so you can sort them by date or area.
- Find all your routes under Your Places for fast reloading.
- Pin your custom link in an email or chat—no special app required.
Accurate measurements build trust in your reports and help you avoid surprises out in the field.
Remember to bookmark midpoints during long traces and verify critical segments using different browsers or devices. A quick double-check can catch odd shifts from style updates or map refreshes. Now go ahead—start measuring and map with confidence!
Accounting For Elevation Effects
Anyone who’s tackled a mountain trail knows that a “10 km” line on a map rarely reflects the true effort. Rolling hills and steep climbs easily turn that 10 km into 12 km of lung-busting work. To plan accurately, you need a way to fold altitude changes into your distance measurements.
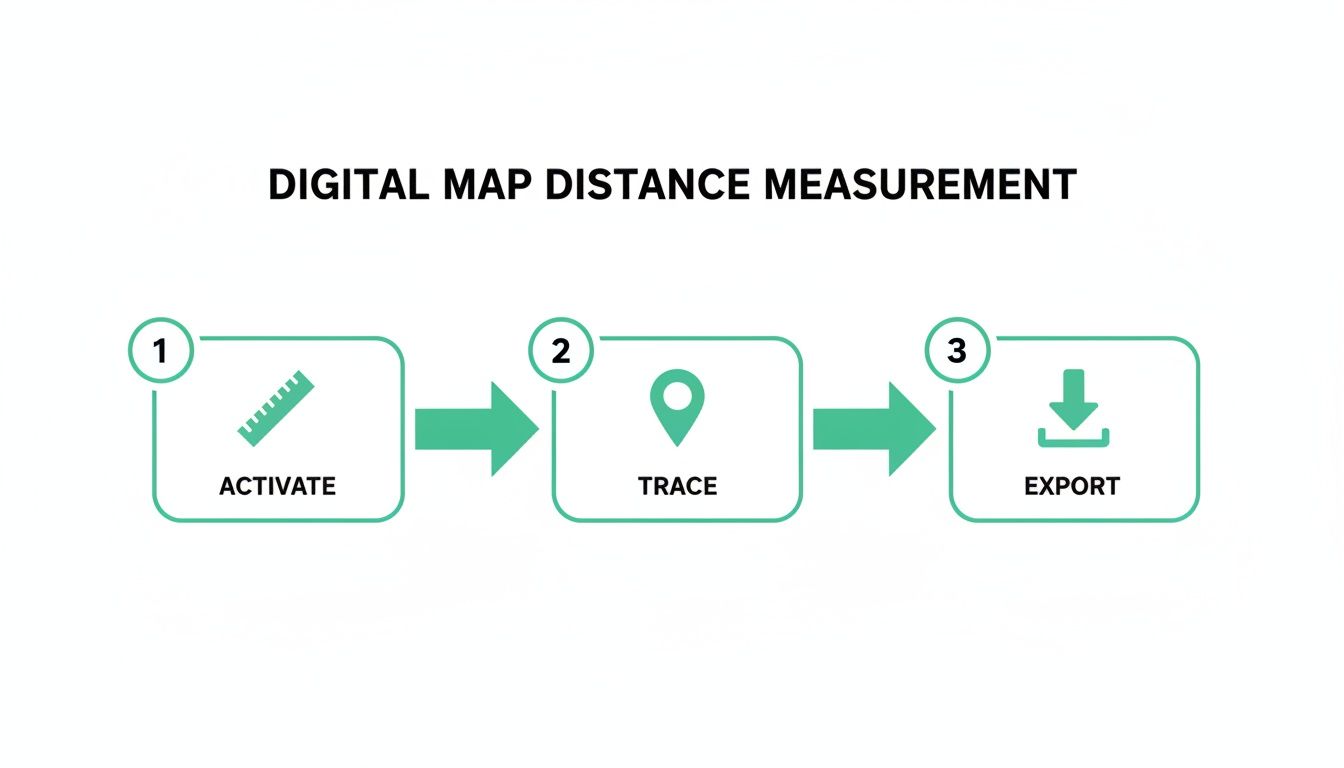
The EarthChasers Elevation Finder steps in here, instantly plotting your route in 3D and spitting out an altitude profile. From there, geodesic algorithms adjust your flat-map distance to the realistic, slope-corrected value. No more nasty surprises when you hit switchbacks.
Here’s an infographic that visualizes the three-step workflow for elevation-aware distance measurement.
Plotting A Trail
Pick your start and end points, then trace every twist and turn. As you draw, the tool builds an elevation graph showing every summit and saddle. Those peaks and troughs aren’t just cosmetic—they’re where your effort spikes.
Calculating Slope Corrected Distance
At its core, slope correction applies the Pythagorean theorem to each tiny segment:
- Measure the horizontal length (e.g., 1 000 m).
- Record the vertical gain (e.g., 500 m).
- Compute: distance = √(horizontal² + vertical²).
So a 1 000 m flat line with a 500 m rise becomes roughly 1 110 m of actual walking. Repeat this for every segment, then sum them up.
| Horizontal (m) | Vertical (m) | Corrected Length (m) |
|---|---|---|
| 1 000 | 500 | 1 110 |
On sustained climbs, you’ll often see a +5 % distance boost—a vital detail for high-altitude treks.
When To Use True Distance
For gentle slopes under 8°, flat-map estimates usually suffice. Anything steeper, though, demands a geodesic approach.
“Working every uphill meter into your plan isn’t just about accuracy—it’s a safety issue in the backcountry.”
Dive into detailed slope metrics with the EarthChasers Elevation Finder for free.
Best Practices And Pitfalls
Small missteps in this process can throw off your entire hike:
- Keep segment lengths under 500 m to limit rounding error.
- Never round elevation changes too early—carry decimals until the end.
- Watch your map’s scale; coarse grids can bury critical spikes.
- Always zero your starting elevation to avoid shifted profiles.
Assessing Line Of Sight
That same elevation data powers line-of-sight calculations. By combining slope-corrected paths with peak heights, you can:
- Choose optimal sites for broadcast towers by mapping horizon lines.
- Plan drone routes that respect real altitude gains and drops.
- Create gaming or simulation experiences with authentic movement costs.
Students benefit, too—seeing how flat vs. real-world distances differ brings map lessons to life.
Avoiding Common Rounding Issues
Tiny rounding errors add up fast over long distances. Here’s how to stay precise:
- Keep at least two decimal places on slope factors.
- Recheck any segment that deviates by more than 5 m.
- Cross-verify with a second tool or a physical walk-through.
A few minutes spent double-checking can save you hundreds of meters of unexpected extra mileage.
Common Mistakes And Tips
Embedded content
I’ve lost count of how many times I’ve seen seasoned hikers misread their paper maps. A ruler slightly off-axis or swapping miles for kilometers can add hundreds of meters to your day’s trek. A quick glance back at the scale saves you from unintended detours.
On digital maps, it’s easy to assume every click is perfect. Yet projection distortions near higher latitudes or a stray waypoint that refuses to snap can throw off your totals. Before you finalize that route, zoom in, zoom out, and make sure nothing slipped off the trail.
When elevation comes into play, blind trust in slope calculators is a recipe for sore legs. A “10 km” hike can easily feel like 12 km once you factor in steep climbs. My rule of thumb? Double-check your height data against a reliable elevation source before you lace up your boots.
Frequent Errors On Paper Maps
- Misaligned Ruler: Pin your ruler at the start point—then pivot it, don’t drag.
- Scale Confusion: Always confirm whether you’re working in miles or kilometers.
- Divider Slippage: Tighten those map dividers until each click holds firm.
Overlooking the representative fraction on a paper map can transform a 5 km goal into an accidental 8 km journey.
Here’s a simple hack: chop longer trails into slices under 10 cm each. Measuring in shorter bursts cuts down on distortion from folds or projection quirks. Then just add up those segments for your total distance.
Avoid Digital Map Pitfalls
Modern mapping platforms feel foolproof—but tiny errors still slip through. I always review each waypoint and re-center my route so it stays in the map’s sweet spot. That way I catch any rogue points before they skew the results.
- Recenter View: Keep your path close to the map’s center to minimize distortion.
- Snap Points: Turn on the snapping feature for roads and trails.
- Cross-Verify: Load a browser ruler or a second mapping tool for a quick reality check.
Unit mix-ups happen often. If Google Maps defaults to mi, convert carefully—or type “km” right in your search bar to force the change. It’s a tiny step that prevents big headaches later.
Terrain-aware measuring deserves its own layer of caution. Most elevation tools assume each segment is under 500 m to avoid rounding errors on steep pitches. Breaking routes into smaller sections keeps your numbers honest.
| Tool Type | Common Mistake | Quick Tip |
|---|---|---|
| Slope Finder | Ignoring data source errors | Check elevation origin before plot |
| 3D Geodesics | Too long segments | Keep each segment under 500 m |
| Line Of Sight | Skipping zero calibration | Reset starting elevation |
FAQ
Curious how your favorite map measures distance? Whether you’re eyeballing a straight‐line shot or tracing a winding trail, it’s worth understanding the difference.
Straight‐Line Measure zeroes in on the shortest route between two points, often called “as the crow flies.” In contrast, Path-Based Measure follows every twist and turn—essential when you’re hiking switchbacks or navigating urban alleyways.
Imagine planning a downtown stroll in Google Maps. Instead of one neat figure, you get a sum of every street segment. That can shift your estimate by up to 15% compared to a simple bird’s‐eye glance.
- Straight-Line Measure: Quick ballpark using two points on a 2D map
- Path-Based Measure: Trace each segment for true‐to‐life accuracy
- Accuracy Range: Roughly ±1% with digital tools and ±5% on paper
Paper map fans often debate scale choices. For a day hike, a 1:25 000 sheet lays out every contour and creek. Teaching a classroom activity or running an RPG? A 1:50 000 map covers broader terrain in one sweep.
“Always double‐check the representative fraction,” advises our field navigation expert. “It’s the easiest way to avoid mixing up kilometers and meters.”
How To Select Elevation Correction
Flat distances can be deceiving on steep ground. A 10 km route on paper might feel closer to 12 km once you factor in every climb and descent.
EarthChasers Elevation Finder handles this by applying the Pythagorean theorem to each slope. If gradients stay below 8°, a flat‐map estimate usually suffices. Above that, slope correction becomes critical—especially on backcountry treks where safety hinges on realistic effort.
Choosing The Right App
Smartphones now blur the line between straight‐line and elevation‐aware measurements. Take EarthChasers’ mobile interface:
- Drop waypoints with a tap
- Match your map’s scale in settings
- Watch slope‐corrected totals update in real time
That flexibility lets you trust your screen for a quick city route—and still keep a paper map handy on extended wilderness trips.
With these FAQs in your toolkit, you’ll know exactly which method fits your next outing—whether it’s an afternoon walk, an orienteering meet, or a virtual game world.
Ready to master every map challenge? Try EarthChasers for free tools and immersive 3D mapping at https://earthchasers.com.