How to Use Compass and Map for Navigation
Discover how to use compass and map for reliable navigation, from basics to real-world techniques.
When you boil it down, using a compass and a map is all about three fundamental skills. You need to orient the map to the world around you, take a bearing from where you are to where you want to go, and then follow that bearing without getting sidetracked.
Get these three things right, and you'll have the kind of confidence that lets you navigate just about anywhere, no tech required. This is about being truly self-reliant out there.
Why Analog Navigation Still Matters

In a world overflowing with GPS watches and slick phone apps, it’s a fair question: why bother with an old-school compass and a paper map? The answer is brutally simple—technology fails. A dead battery, a cracked screen, or a lost satellite signal can instantly turn your high-tech gadget into a useless brick. Suddenly, a fun day hike becomes a serious survival situation.
Learning analog navigation is your ultimate safety net. It's an empowering skill that does more than just get you from A to B; it forces you to connect with the landscape. You start to really see the terrain, think critically, and trust your own judgment instead of blindly following a blue dot on a screen.
The Power of Preparedness
Real preparedness isn't about packing more gadgets; it's about building foundational skills that don't rely on batteries. When you understand how to navigate with these timeless tools, you gain a sense of freedom and confidence that technology just can't match.
For this guide, we're focusing on two essential pieces of gear:
- A Baseplate Compass: This is the hiker's standard. It’s a compass mounted on a clear, rectangular baseplate, which makes it incredibly easy to use directly on your map.
- A Topographic Map: This isn't your average road map. A "topo" map shows you the shape of the land itself using contour lines, giving you a crucial three-dimensional view of the terrain you'll be crossing.
This timeless way of finding your way has an incredibly rich history. The magnetic compass has been guiding explorers for millennia, with its origins tracing back to the Han Dynasty in China over 2,000 years ago. Early versions were simple floating lodestones that would faithfully align with the Earth's magnetic field. You can dive deeper into the history of the compass on Wikipedia.
By the end of this article, you won't just be memorizing steps. You'll understand the why behind them. You'll be ready to leave the trailhead with the skills you need for any adventure, knowing you can always find your way back.
Getting to Know Your Navigation Tools
Before you can confidently navigate the backcountry, you need to get intimately familiar with your two best friends: your compass and your map. Don't think of them as complicated gadgets. They're simple, reliable partners for your journey, and knowing what each part does is the first step to making them work for you.
Your Compass: The Baseplate Breakdown
The most common and practical tool for map navigation is the baseplate compass. It's way more than just a needle that points north; every single component has a critical job. The clear plastic rectangle it's built on is the baseplate, which is see-through for a reason—so you can see all the crucial map details right underneath it.
You'll immediately notice the large direction-of-travel arrow etched into the baseplate. This is your guide—it points exactly where you want to go. The circular part is the rotating bezel, marked with 360 degrees, which you'll turn to lock in your bearing.
Inside the Compass Housing
Now, let's look inside that rotating bezel. You’ll see two arrows that are absolutely essential.
- The first is the orienting arrow. It's often a red outline shaped perfectly to frame the magnetic needle. Think of it as the "shed."
- The second is the star of the show: the red magnetic needle, which always, always points to the Earth's magnetic north pole.
Your main job when taking a bearing is to align these two. A classic way to remember this is the phrase "put red in the shed." It's a simple reminder to get that magnetic needle perfectly inside the orienting arrow.
For a deeper look into the mechanics, our comprehensive guide on using a compass and map is a great place to start.
Let's quickly recap those key parts.
Essential Map and Compass Features at a Glance
This table is a quick reference guide to the key components of your navigation tools and what they do.
| Component | Purpose | Where to Find It |
|---|---|---|
| Baseplate | The clear foundation for seeing the map underneath. | The main body of the compass. |
| Direction-of-Travel Arrow | Points toward your destination. | Etched onto the baseplate. |
| Rotating Bezel | Sets your direction (bearing) in degrees. | The numbered dial on the compass housing. |
| Orienting Arrow | Helps align the compass with magnetic north. | Inside the rotating bezel. |
| Magnetic Needle | Always points to magnetic north. | The floating red needle inside the housing. |
| Map Legend | Explains what all the map symbols mean. | Typically in a corner or on the side of the map. |
| Map Scale | Translates map distance to real-world distance. | At the bottom of the map. |
| Contour Lines | Show changes in elevation. | The brown, squiggly lines across the map. |
Once you're comfortable with these parts, you're halfway there.
Your Map: The Lay of the Land
The map is the other half of this powerful duo. A topographic map isn't just a flat drawing; it's a detailed, 3D representation of the land squeezed onto a 2D surface. To use it effectively, you have to learn its language.
Start with the map's legend. This is its dictionary. It explains what every symbol—from a dotted line for a trail to a blue squiggly for a stream—actually means. The scale, usually found at the bottom, is what tells you how an inch on your map translates to miles in the real world.
The most powerful features on any topo map are the contour lines. These are the thin, brown, squiggly lines that seem to wander all over the map. They connect points of equal elevation. When they are packed tightly together, the terrain is steep. When they are spread far apart, the ground is relatively flat.
Learning to read these lines is a skill that changes everything. It allows you to visualize hills, valleys, and ridges before you even take your first step. For a really deep dive into this, check out our guide on how to read topographic maps.
Once you understand the language of both your map and your compass, you can make them work together to get you anywhere you want to go.
How to Orient Your Map to the Real World
Alright, this is where the magic happens. It’s time to take that piece of paper—your map—and make it line up perfectly with the actual terrain stretching out in front of you. We call this orienting the map, and frankly, it’s the single most important skill you can learn for navigating the old-school way.
Get this right, and everything else clicks into place.
Think of it this way: your map is a perfect bird's-eye view of your surroundings, but it's totally useless if you're holding it sideways or upside down. Orienting the map ensures that when you see a trail fork to the left on the paper, it’s also forking to the left in real life. This one skill is the foundation that prevents almost all major navigational blunders.
First, Get Your Compass and Map Situated
Start by finding a good, flat surface for your map. A smooth, level rock or a clear patch of ground is perfect. Just make sure you avoid placing it on anything with a lot of metal, like the hood of your truck, which can throw off your compass needle.
Now, lay your compass down right on the map. The goal here is to line up the long, straight edge of your compass baseplate with one of the vertical north-south grid lines printed on the map. Any of them will do. Just make sure the direction-of-travel arrow on the compass is pointing toward the top of the map, which represents true north.
This visual shows you exactly how the two tools are meant to work together.
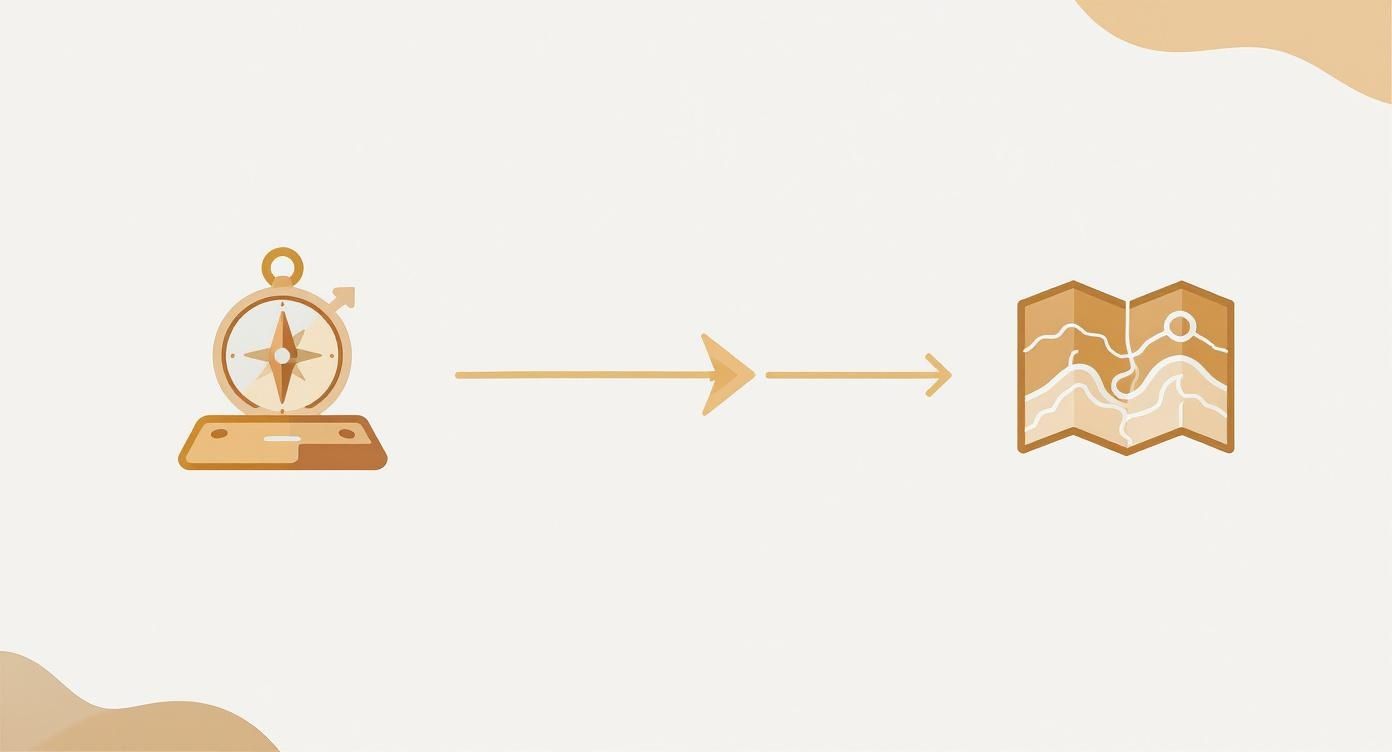
As the infographic makes clear, your compass and map aren't two separate things; they're two halves of a single system for finding your way.
Dealing With Magnetic Declination
Here’s a detail that trips up a lot of beginners. Your compass needle points to magnetic north, but your map is drawn based on true north (the geographic North Pole). Surprise—they aren't the same spot!
The angle between these two "norths" is called magnetic declination, and you absolutely have to account for it to navigate accurately. This angle is different depending on where you are in the world, and it even changes slightly over time as the Earth's magnetic poles wander. You can learn more about how Earth's magnetism affects a compass on Britannica.
Luckily, any decent topo map will tell you what the declination is.
Pro Tip: Look for the declination diagram in your map's legend. It will show you the angle and direction for your area when the map was printed. For example, it might say "12° East."
Time to "Put Red in the Shed"
Okay, with your compass still sitting on that north-south map line, you’re ready for the final move. Don’t lift the compass off the map. Instead, slowly rotate the entire map with the compass still on it.
Keep turning the map until the red, magnetic end of the needle is perfectly nestled inside the red orienting arrow outline on your compass dial. This is what many of us call "putting red in the shed."
Once the needle is in the shed, stop. That's it.
Your map is now perfectly oriented to the world around you. Every single feature on that map—from peaks and rivers to valleys and trails—is lined up exactly with its real-world counterpart. This simple action is the bedrock of good navigation, turning a simple piece of paper into an incredibly reliable guide.
Finding Your Location and Taking a Bearing
Embedded content
With your map now oriented to the real world, you're ready to answer the two most fundamental questions in navigation: Where am I? and Where am I going?
These skills are what separate a passive trail-follower from an active navigator. This is how you gain the confidence to chart your own course and truly explore. First, we'll dive into pinpointing your exact location on the map, then we'll cover how to point yourself toward your destination and walk right to it.
Pinpointing Your Position with Triangulation
Imagine you’re standing on a ridge. You’ve oriented your map, but you aren’t entirely sure where along this high ground you are. This is where a cool technique called triangulation comes in. Think of it as detective work—you use known clues from your surroundings to solve the mystery of your location.
To start, you need to identify at least two, and preferably three, distinct landmarks that you can see both in front of you and on your map. Good options are things that stand out:
- A prominent mountain peak
- A specific bend in a river
- A water tower or other obvious man-made structure
- The edge of a lake or a large pond
Let's say you can clearly see a sharp peak to your east and a distinctive river bend to your south.
Hold your compass level and point the direction-of-travel arrow directly at the mountain peak. Without moving the compass, rotate the bezel until the magnetic needle is safely "in the shed" (tucked neatly inside the orienting arrow).
Now, read the bearing in degrees from your index line. Let's say it's 45 degrees. Place your compass on your oriented map with one corner of the baseplate right on the mountain peak's symbol. Next, carefully rotate the entire compass (not the map) until the needle is back in the shed. The edge of your baseplate now forms a line pointing from the peak back toward you. Draw that line lightly in pencil on your map.
You're going to repeat this exact process for the river bend. Point your compass, get the bearing (we'll call it 185 degrees), place the compass corner on the river bend symbol on the map, rotate the compass to put "red in the shed," and draw another line.
The point where your two pencil lines cross is your approximate location. If you use a third landmark, the three lines will form a small triangle—your position is right in the middle of it. This method turns the vast wilderness into a solvable puzzle.
Taking a Bearing to Your Destination
Now for the second piece of the puzzle: figuring out where you're going. We call this taking a bearing.
Here’s a classic scenario: you’re at a trail junction, and you want to hike cross-country to a remote lake that's not on any marked path. With your map still oriented, place your compass on it so the long edge of the baseplate creates a straight line connecting where you are (the trail junction) to where you want to go (the lake).
Critically, make sure the direction-of-travel arrow is pointing toward the lake, not away from it. This is a super common mistake that will send you exactly 180 degrees in the wrong direction.
Holding the baseplate firmly in place, rotate the bezel until the orienting arrow lines up perfectly with the north-south grid lines on your map. You want the "N" on the bezel to point to the top of the map (true north).
Once that's aligned, read the number at the index line. This is your bearing. Let’s say it's 270 degrees. You can now lift the compass off the map.
Hold it level in front of you and turn your entire body until the magnetic needle is perfectly inside the orienting arrow again. The direction-of-travel arrow now points exactly toward that remote lake. Walk in the direction it points, and you’re on your way.
This process, combined with knowing your location, forms the basis of all land navigation. For a closer look at the coordinate systems that underpin all of this, our guide on what latitude and longitude are is a great place to start.
Navigating Like a Pro in the Field
Knowing the theory is one thing, but actually putting it to use on uneven ground, thick with trees and unexpected drops, is where the real learning happens. Real-world navigation isn't about perfectly straight lines on a map. It's a dynamic, messy process of reading and reacting to the terrain right in front of you. This is the moment you graduate from just knowing the steps to truly understanding the art of navigation.
One of the best techniques I’ve learned for staying on course is called leapfrogging. Instead of just staring down at your compass while you walk—a guaranteed way to trip over a root—you use it to sight a distinct landmark ahead.
Pick something obvious on your bearing, like a weird-looking tree or a big, pointy rock. Walk to it, then stop and repeat the process. This breaks your journey into smaller, manageable chunks and keeps you moving accurately without having your head buried in your compass the whole time.
Dealing With Obstacles
So, what happens when a swamp, a dense thicket of thorns, or an impassable cliff suddenly blocks your path? You can't just power through. This is an everyday challenge out on the trail, and it requires a simple but precise workaround to get around it without losing your original bearing.
Let’s say your bearing is 90 degrees (due east), and you hit an unexpected swamp. Here’s how you box around it:
- First, turn exactly 90 degrees to your bearing. In this case, that means turning to 180 degrees (south).
- Pace out the distance you walk until you've cleared the obstacle's width. Keep careful count.
- Next, turn back to your original bearing (90 degrees) and walk until you’re past the length of the obstacle.
- Finally, make another 90-degree turn back towards your original line (to 0 degrees, or north) and walk the exact same distance you counted in the second step.
This simple maneuver creates a perfect rectangle, putting you right back on your original line of travel, just on the other side of the swamp.
The secret to great field navigation is constant situational awareness. Don't just get lost in your tools. Use prominent terrain features like ridges or streams as 'handrails' to guide you, and get in the habit of checking your map every 15-20 minutes to confirm your progress.
Staying Safe and Prepared
Even with the sharpest navigation skills, things can go sideways in the backcountry. That’s why it’s critical to be prepared with legal communication devices for search and rescue as a reliable backup. Your ability to find your way is your number one safety tool, but having a way to call for help is a close second.
Mastering how to use a compass and map in the field is all about building a mental toolkit of proven techniques. Before you even leave, you can practice with our online distance and bearing tool to get a feel for calculating bearings between two points. Methods like leapfrogging, obstacle negotiation, and frequent map checks are what transform you from a beginner into a confident, self-reliant navigator ready for whatever the trail throws at you.
Common Questions About Map and Compass Use
Even after you get the hang of the basics, a few tricky questions always seem to surface out on the trail. Let's clear up some of the most common points of confusion. Getting these details right is what separates a novice from a seasoned navigator.
One of the biggest hurdles for beginners is magnetic declination. It sounds way more complicated than it is—it's just the angle difference between where your compass needle wants to point (magnetic north) and the true north printed on your map. Forgetting to account for this is probably the most common mistake people make.
A simple way I remember how to adjust is with the mnemonic: "Maps Tell Almost Everything." This breaks down to Magnetic to True, Add East. If your local declination is east, you add that number to your bearing. If it’s west, you subtract it. Simple as that.
What if My Compass Needle Gets Stuck or Acts Weirdly?
Nine times out of ten, a jumpy or stubborn compass needle is caused by metal nearby. Are you standing next to your car? A metal signpost? I've even seen a large belt buckle throw a reading off. Just step a few feet away from any metal objects and see if the needle settles down.
This interference is called magnetic deviation, and it can come from less obvious sources, too, like buried power lines or underground pipes. The best practice is to always take your bearings in a clear, open spot to ensure you're getting an accurate reading.
Another question I get a lot is about navigating after dark. Can it actually be done?
Of course. This is where a quality compass with luminous markings really proves its worth. Before the sun sets, just hold your headlamp over the compass for a minute to "charge" the glowing paint. This will make the needle, bezel, and orienting arrow bright enough to take a bearing in total darkness.
Can I Just Use My Smartphone Instead?
Look, smartphone compass apps are handy, but they should never be your primary navigation tool. They depend on a battery that will eventually die and electronics that can easily fail, especially in the cold or rain.
Think of your map and compass as your unbreakable lifeline. A GPS is great for confirming your position or as a backup, but learning how to use a compass and map is a skill that will work no matter what. It means you never have to rely on a power source to get home safely.
Ready to explore the world in a whole new way? EarthChasers combines the thrill of adventure with the joy of discovery. Dive into our 3D geography game and start your journey today at https://earthchasers.com.